Introduction to building furniture from a wheelchair
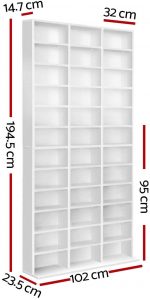
Building furniture from a wheelchair is difficult and challenging, but it can be done.
Due to the spreading of the Delta variant of Covid, South Australia commenced a seven-day lockdown commencing at 6 pm on Tuesday, July 20, 2021. It was a good time to construct an Artiss Media Storage Bookcase.
The unit will be used to store over 400 blu ray movies in my office, and allow movies to be played in my home cinema. As the unit is almost two metres tall, and I use a wheelchair to get around. The construction sounds like a difficult task, except for Wheelchair John!
Building furniture from a wheelchair is not impossible and requires some planning and construction that varies from the supplied instructions. I will only require assistance to move the completed object into my office.
Open boxes, stack parts and dispose of rubbish
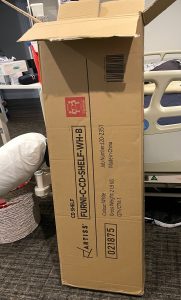
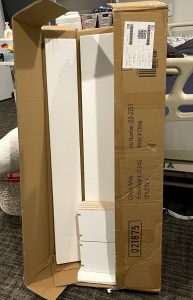
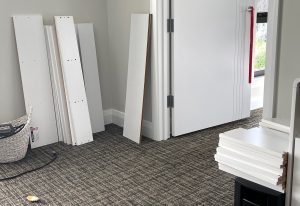
The unit came in two boxes and weighs over forty kilograms, and each box is recommended to be moved by two people. The delivery people left the boxes in my hallway, and I slid them into my bedroom and stood them up against my hospital bed. I lifted from the side, rather than the front of my chair.
Using a Stanley knife, I carefully opened each box without cutting myself or the furniture. I removed foam as I placed each part against a wall, or on a piece of furniture so that I wouldn’t have to pick the parts up from the carpet.
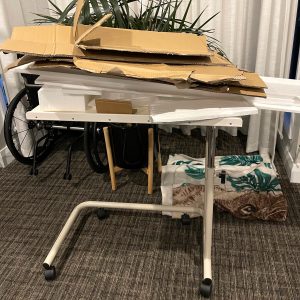
The packaging was stored on a table so that I could dispose of them easily into the appropriate council bins. I placed the fixtures on the table, along with a hammer, a set of screwdrivers and a powered screwdriver. Although the instructions warn against using a powered device, I find it easier to first use a screwdriver, then use a powered device and tighten with a screwdriver again. I like to use latex gloves on each hand to improve my grip.
Preparation of the uprights and the top and middle sections
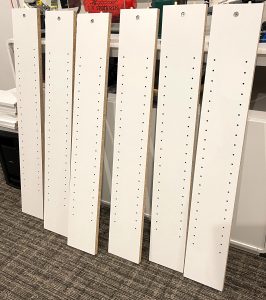
After identification of the parts, I checked them again, to ensure I understood where they would be placed. The six uprights were stood against my entertainment unit, and I placed two wooden plugs in each, as well as the six-round metal fasteners.
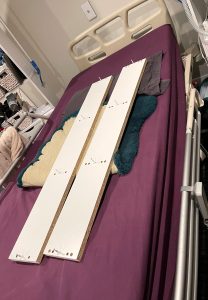
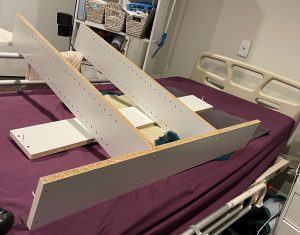
The top and middle sections needed a workbench that was height adjustable, and my bed was perfect. I raised the height to suit me. I screwed four studs into each piece of wood.
Building furniture from a wheelchair begins construction
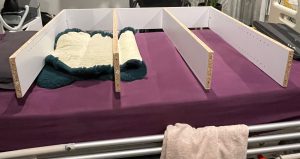
I started construction on the bed initially with one-bed rail up and with a sheepskin underneath it, but removed the sheep and put the rail down.
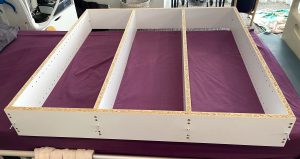
After joining the first four uprights to the top piece, I moved to the other side of the bed, to connect the middle piece.
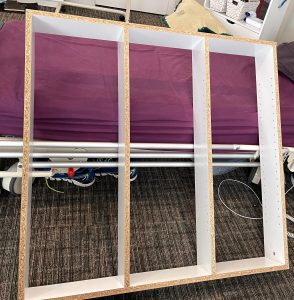
As the size of the bookshelf was only half of the finished height, I couldn’t finish the construction on the bed. I carefully pushed the unit towards one side, and then went around the other side to place it onto the carpet.
Constructing the second half
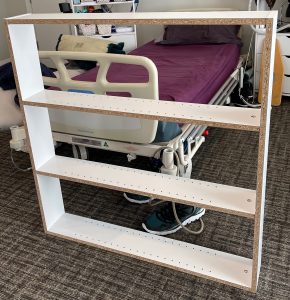
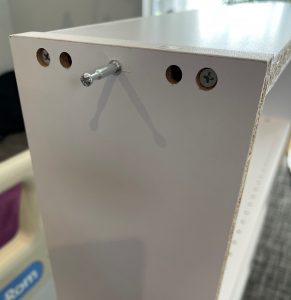
I pushed the first half along the carpet. As the unit isn’t strong until the backing is applied I was careful when moving it. The unit was placed in a position to allow me to add the second half to the left, without blocking access. Later I would need to bend over close to the left side of the base, and took note of the pins sticking out to avoid eye damage.
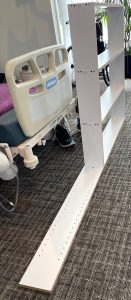
The instructions suggested placing the unit on the floor, but I had already used my bed, and now the construction would occur sideways. Building the unit on the floor is too low for a wheelchair. However, I had to bend down to connect the side piece and tighten the fastener. Rather than use the short screwdriver, I used a longer one. I farted a few times, but I cannot control this!
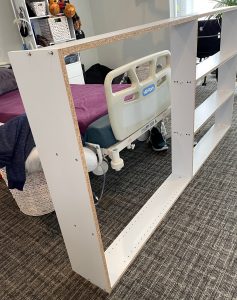
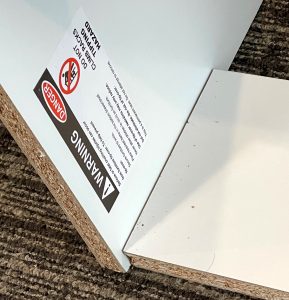
After the bottom piece was in place, I connected the top and side pieces but didn’t tighten the items just yet. Otherwise, I couldn’t place the middle pieces. Once the top three items were connected, I noticed the bottom piece wasn’t lining up, so I moved it slightly to suit and put the screws in place.
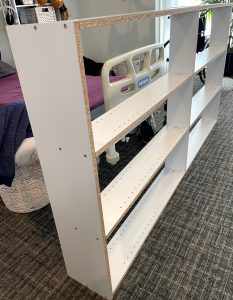
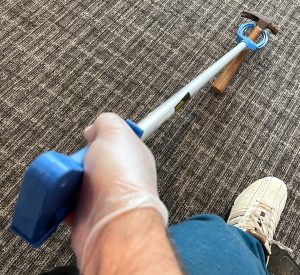
I tightened everything that needed to be tight, and so far, so good, the plan was coming together. As I dropped the tools and many of the fixtures, it was handy to have a pickup stick nearby.
Watch out for Spartacus when building furniture from a wheelchair
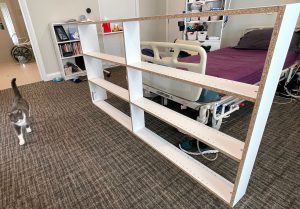
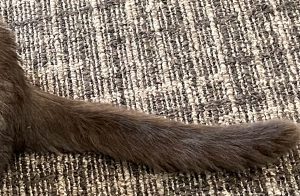
Spartacus, our cat, came in to admire my handiwork. After his approval, I took a photo of his tail and it reminded me of the importance of doing things safely. I ensured he was out of the way, as running over his tail, or having a flat cat wasn’t in the plan.
The backing
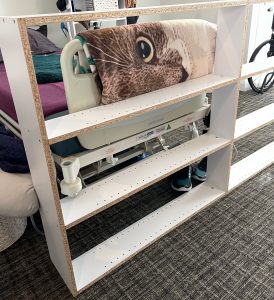
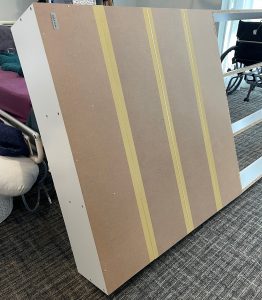
I placed a blanket between the bed and the unit, as it would protect both items from damage. As you may have noticed the image on the blanket is Spartacus. I placed the backing in place and used the hammer to hit all the nails in place except for the bottom row. This row was too low, and I could reach it after angling the bookcase.
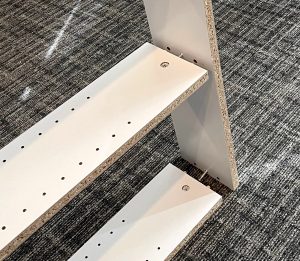
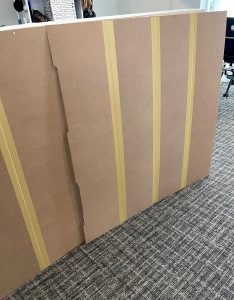
After slightly pulling the unit to the left, I noticed the bottom two items came loose, so I had to fasten them again and push instead of pulling. I slide the unit backwards to meet the bed and followed the same process to complete all of the backings.
Don’t kill the cat
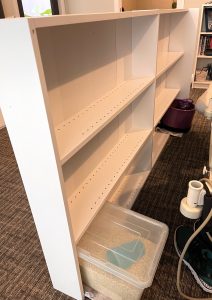 This is the second media storage bookcase I’ve constructed, and the first unit fell over. To prevent having to replace Spartacus, I placed two heavy objects to prevent the case from being knocked over.
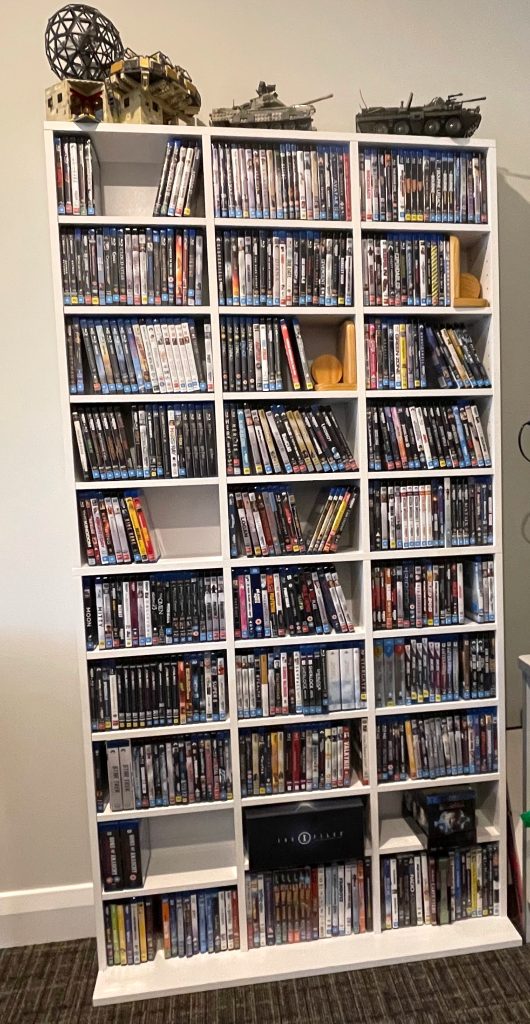
When I can find someone to help, they will move it into the office and next to the first unit.
I can add the shelving and the fixtures to hold the shelves.
Then I can proceed to buy more movies and lego 🙂
Click here for information about the blog WheelchairJohn. Or here for the blog that shares how I go to the toilet.
More information about me is found at johnduthie.com
