Freezing carrots for cooking
Freezing carrots for cooking is simple.
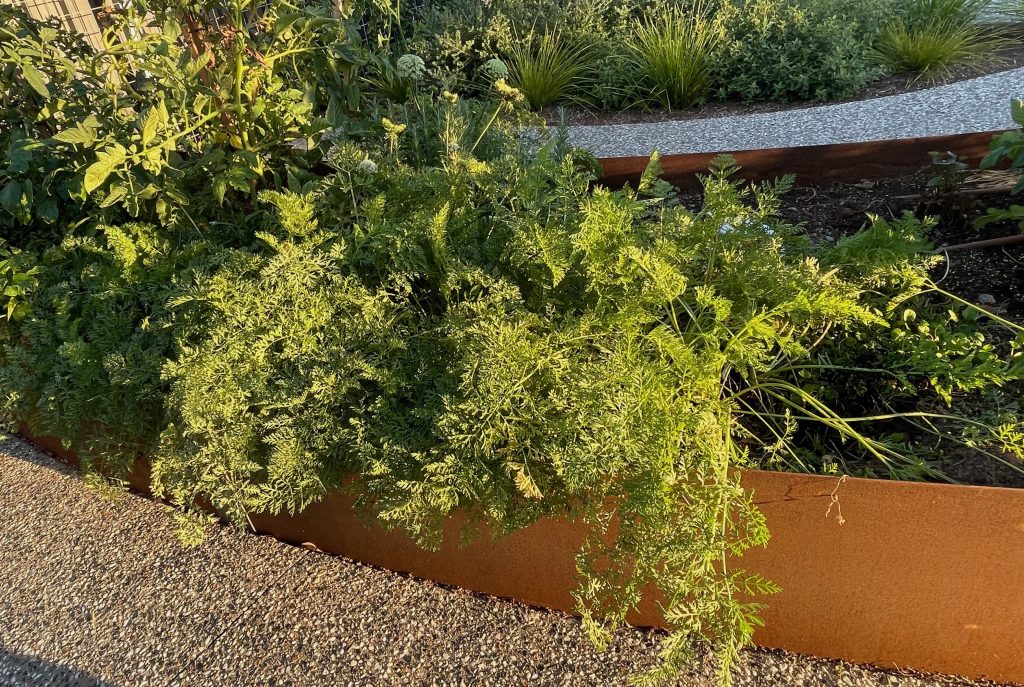
I use wheelchairs to get around and this blog shares how I froze my carrots for the purpose of using them for cooking (within the next 12 months). The first step is to grow them, and this blog doesn’t cover this step. However, the carrots were grown from seed in a raised garden bed in my backyard.
Step 1 of freezing carrots for cooking – Prepare the carrots
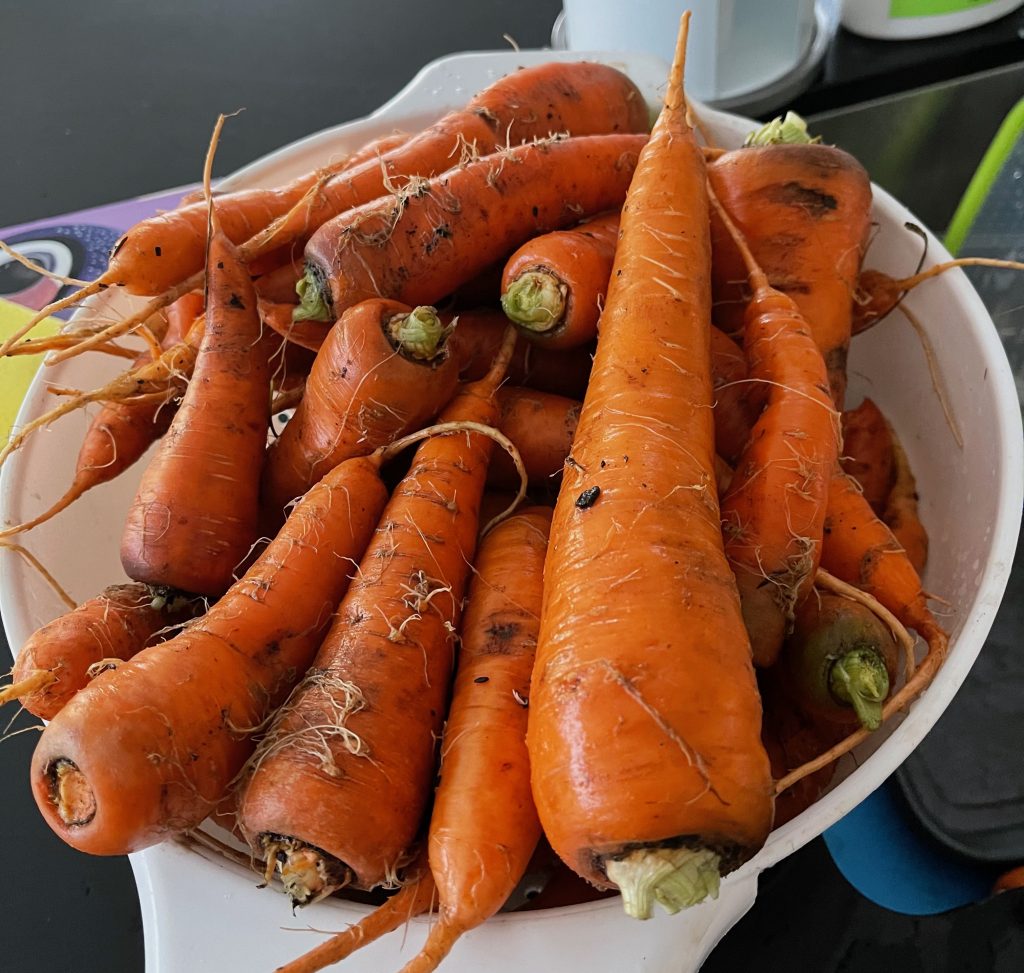
 Wash carrots – remove the dirt in a sink.
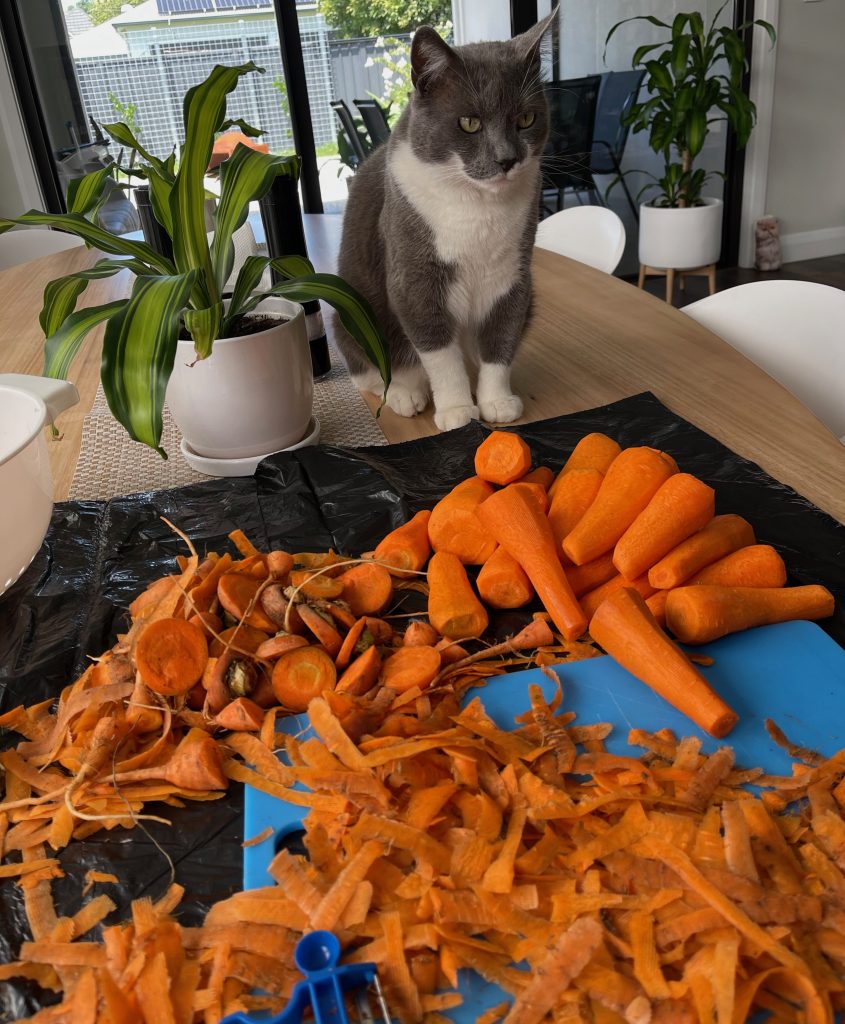
- Setup the preparation area – the best place to prepare vegetables while sitting in a wheelchair, is at a dining table, as your legs fit under the table. I placed a garbage bag on the dining table for a quick and easy clean up.
- Gather the tools – a large plastic cutting board, large kitchen knife, vegetable peeler and a bowl.
- Chop off the ends of the carrots – keep those fingers away from the blade
- Peel the carrots
- Chop carrots – cut carrots into chunky sizes, and place into a bowl.
- Getting helping from a cat – it is impossible to train a cat. Spartacus didn’t help at all.
Step 2 – Blanche the carrots
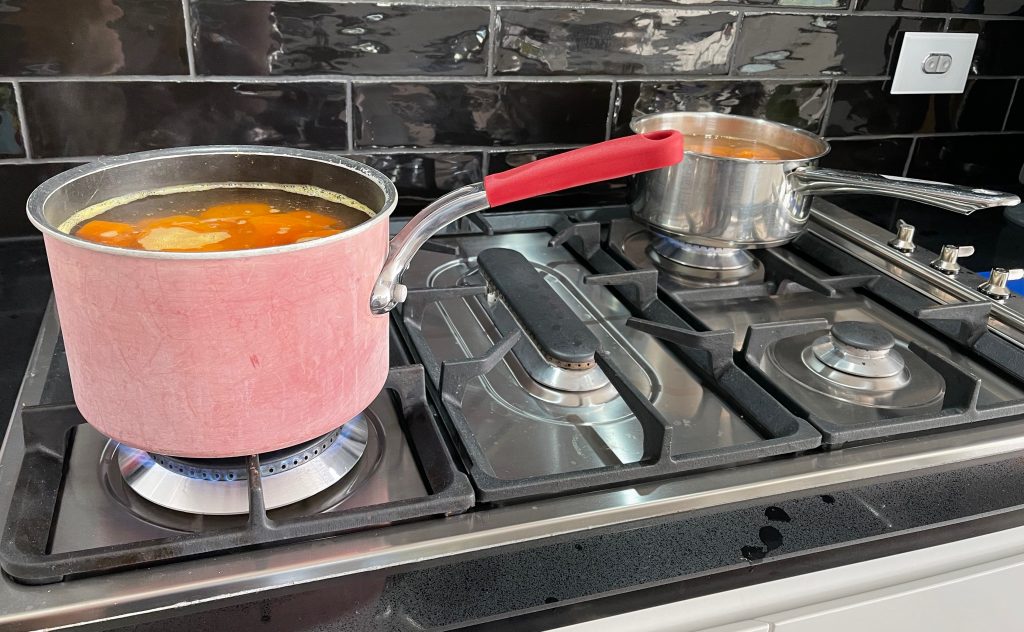
- Blanching – is a heat treatment to destroy enzymes in the carrot prior to freezing.
- Boil carrots – When using a cooktop, I use my powered chair as it is safer and easier. I can raise my body level to allow me to look down on the cooktop, and transfer a boiling pot to the kitchen sink. To prevent boiling water landing on my legs, I used tongs to place one or two chunks in the pot at a time. Boil the carrots for three minutes.
Step 3 – Quick freeze the carrots
 Drain – carefully take the pot to the sink, and separate the carrots from the boiling water.
- Quick Freeze – place carrots into a prepared sink with plenty of ice cubes and water. The carrots should spend the same time cooling down, as they did boiling – 3 minutes.
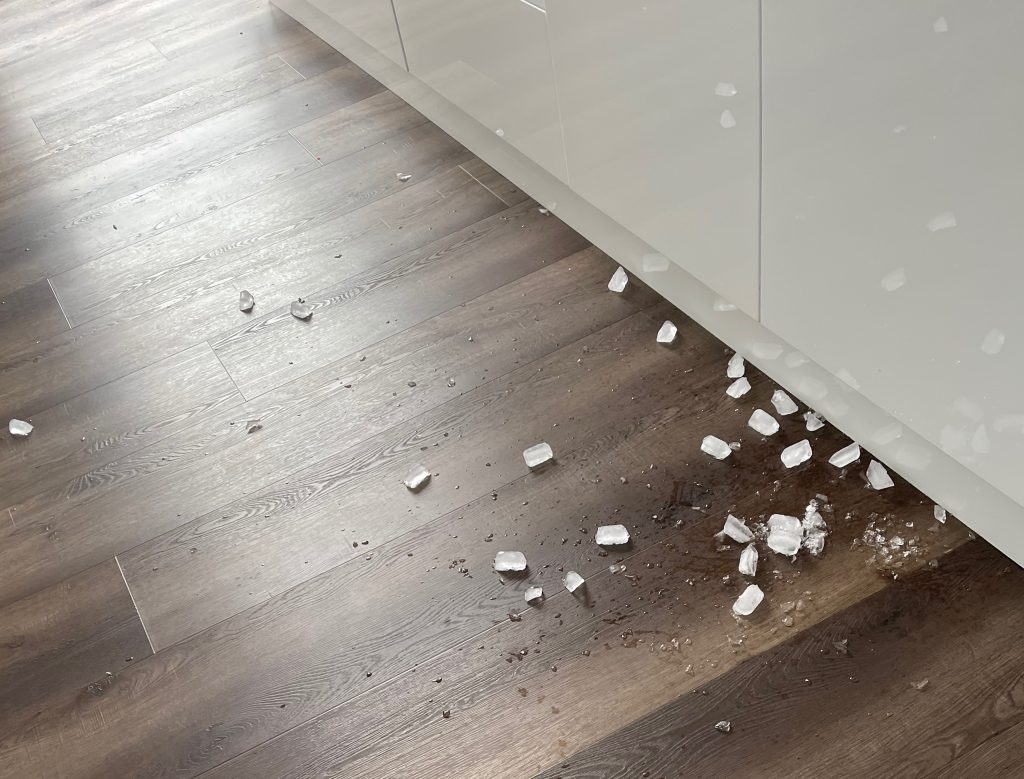
- Don’t drop any of the ice cubes on the floor!
Step 4 – Dry the carrots
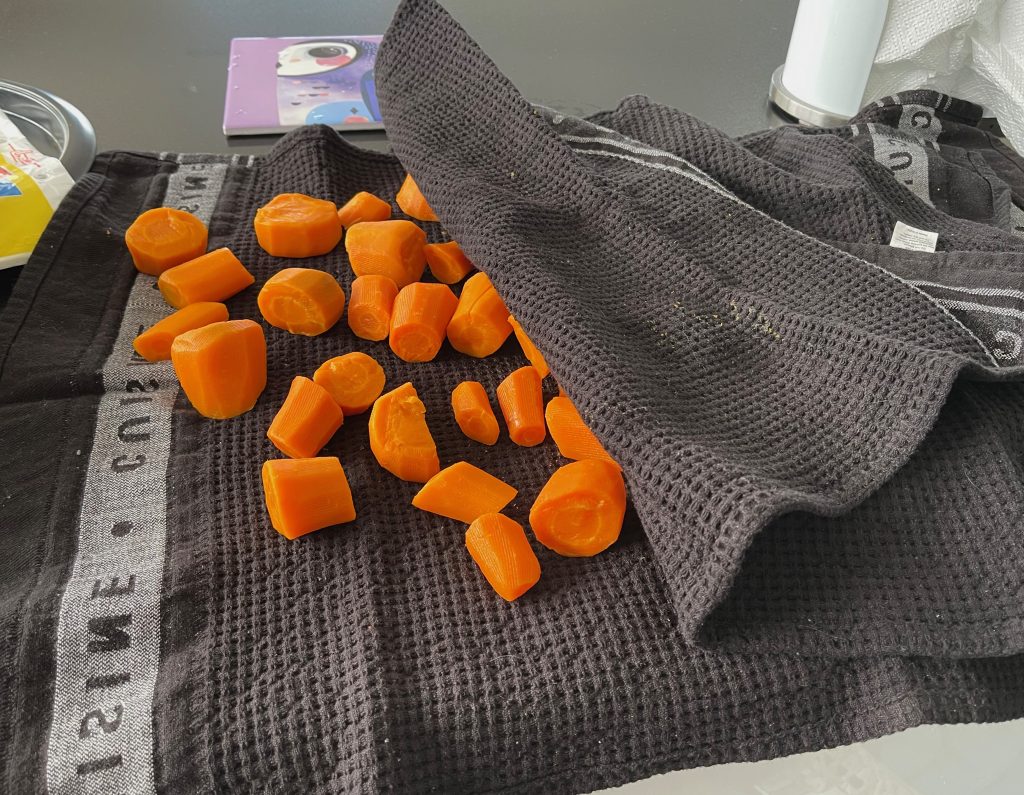
- Dry – I found it difficult to scoop out the carrots and leave the ice cubes behind, so I just used my hands. Warm-up your hands when the carrots are on a tea towel. I placed a tea towel on top of the carrots to help remove water.
Step 5 – Freeze the carrots
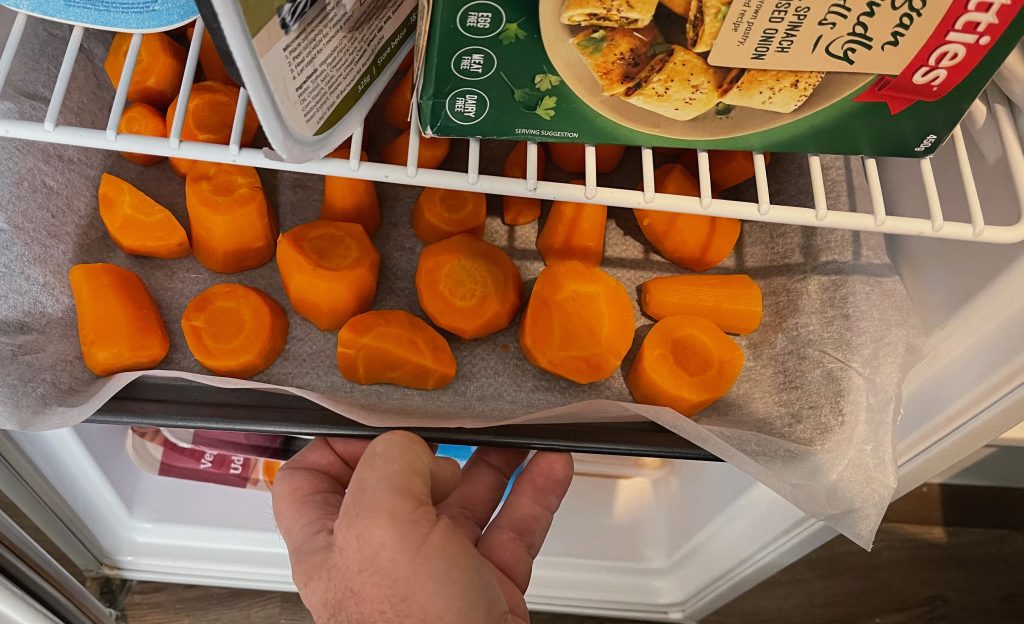
- Baking trays – line baking trays with baking paper, and place carrot chunks on the paper, ensuring the pieces don’t touch each other
- Freeze the carrots – place the trays into the freezer for 3 hours
 Step 6 – Bag the carrots
- Label the bags – using a permanent marker, write the name of the vegetable, and the use-by date. Carrots frozen this way can remain in a freezer for 12 months.
- Back into the freezer – the carrot chunks shouldn’t freeze to each other
The whole process (excluding the waiting time to freeze, and the dishwashing) took me around 70 minutes in my powered wheelchair. Due to the rubbish bag under items during preparation, cleaning up this area was quick and simple.
Freezing carrots for cooking is simple!
Click here for information about the blog WheelchairJohn.
More information about me is found at johnduthie.com

 Wash carrots – remove the dirt in a sink.
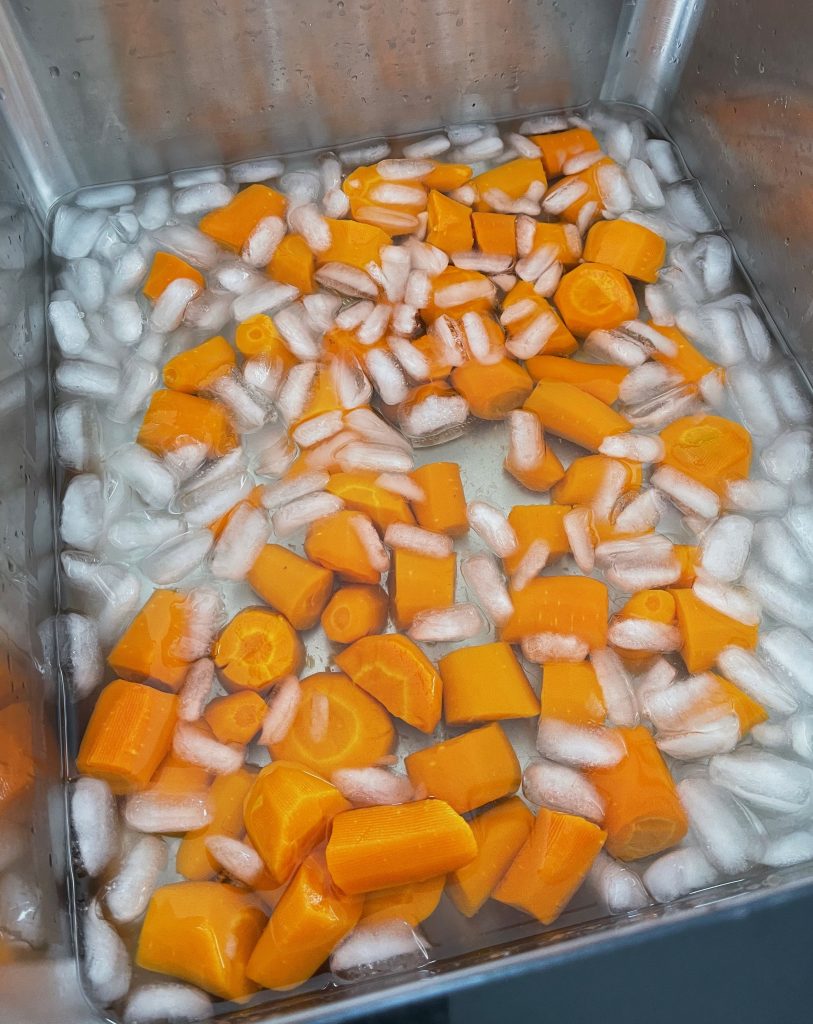 Drain – carefully take the pot to the sink, and separate the carrots from the boiling water.
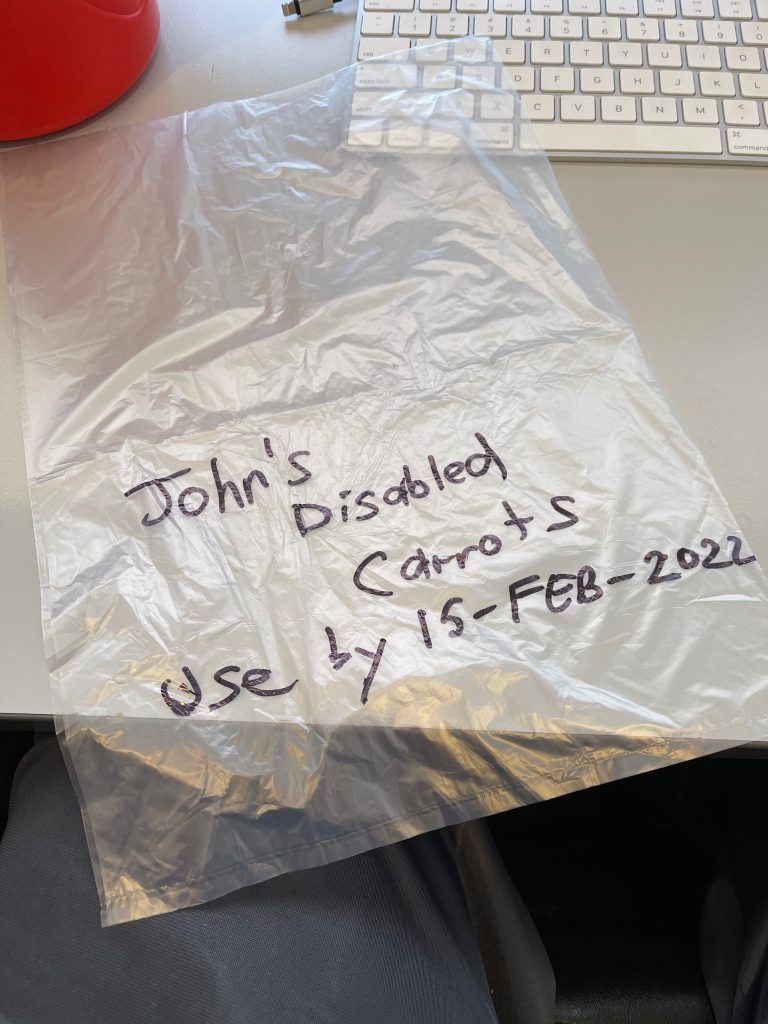 Step 6 – Bag the carrots